Clash of Clans Defense Strategy | ||
| ||
While updating your goldmines and elixir collectors, you certainly do not want enemy clans stealing these precious Resources from you. You have to deny them entry with walls, use cannons and towers to shoot enemy troops, and place mines and collectors in smart places. To learn more about defenses in Clash of Clans, view these sections: |
There are several strategies for wall placement. As a rule, place walls around your precious resources, like mines and collectors. While forces are busy trying to break through your walls, cannons and towers can either stop them in their tracks or completely obliterate them. As your walls become stronger, it will take enemy forces a longer time to cut through your walls. Upgrade them as quickly as you can afford to do so.
Consider also leaving a strategic opening in your wall to funnel troops toward traps. To the unsuspecting invasion, several troops can be destroyed using this strategy. This is a passive defensive strategy that is clever, but has a huge weakness. Be aware that enemies can sense this funnel strategy and send in a lone goblin who will test out an area. With the use of a goblin sacrifice to trigger such traps, an enemy horde can then be unleashed and be unhindered.
| |||
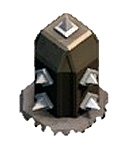
Unlike the passive use of bombs and spring traps, players use cannons and towers to mow down incoming invasions. We will look at bad, good, and genius placement strategies for cannons and towers. 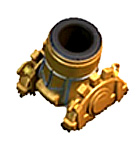
Bad
Good
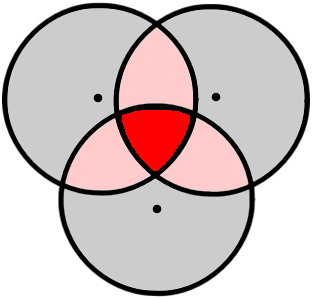
Resources placed within the middlemost section of the red area can be protected by all of your defensive weapons.
Genius View the Venn Diagram below to see a visual representation of cannons and towers placed close together. If defensive weapons are placed close enough together, it creates a large red zone. In this red zone, each of the cannons and towers are protected by each other.
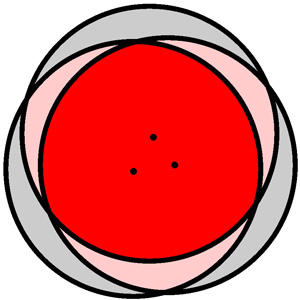
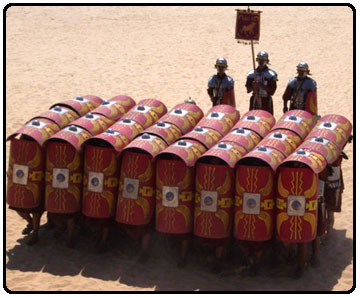
It is extremely similar to Spartan hoplites interlocking their shields to form a unified resistance, called a phalanx. No warrior defends alone. Each member of the phalanx helps his neighbor next to him as a single, unified fighting force.
| |||
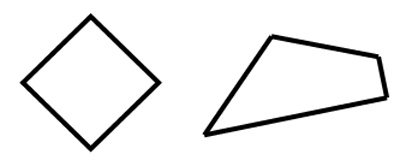
Just like our analysis of Active Defensive Weapons, place your mines and collectors within the red area within the Venn Diagram. To further delve into the mathematics of layouts, we have to turn to terms found within geometry. In order to maximize defense via overlapping actively defensive structures, look at regular polygons. Regular polygons are closed figures formed by segments that have sides that are equal in length and angles that are equal in measure. Here is the difference between a regular quadrilateral, called a square (left) and an irregular quadrilateral (right).
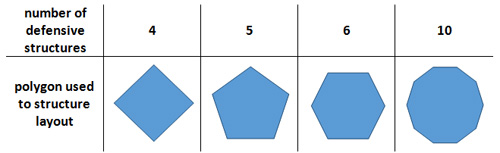
If there are ‘n’ actively defensive structures, use a regular polygon with ‘n’ sides. Place the actively defensive structures on the corners (vertices) of the regular polygons.
| |||